Sunday, June 12, 2011

Exercise 4.4 - Variety with low sun

The aim of this exercise was to take some pictures at sunset and see, what the difference in lighting was. The object should be placed at a different position in relation to the sun.

For all four pictures white balance was set for Sunny and ISO for 800.

1. Frontal lighting - with the sun behind the camera. As can be seen on this picture, there is enough depth of field, the shadows and shapes can be recognized. None of the sides of the shots is under- or overexposed.

46mm; f/4.8; 1/1250sec

2. Side lighting - with the sun to the left or right. In this case, sun was shining from the right side. There are less shadows and the right side of the object seems to be a bit overexposed. Though, this kind of lighting can be used in interesting ways, when taking pictures of people faces, as one side of the face would be in light and the other in shadow.


55mm; f/5.0; 1/800 sec


3. Back lighting - shooting towards the light. The first thing you notice, when shooting against the sun is that shutter speed increases nearly twice. The other thing is that, by having sun correctly exposed, the object itself is underexposed. To have both, sun and object, exposed in a correct way Cokin gradual ND filters can be used. I personally often use P 120 and P 121.

50mm; f/4.8; 1/3200 sec

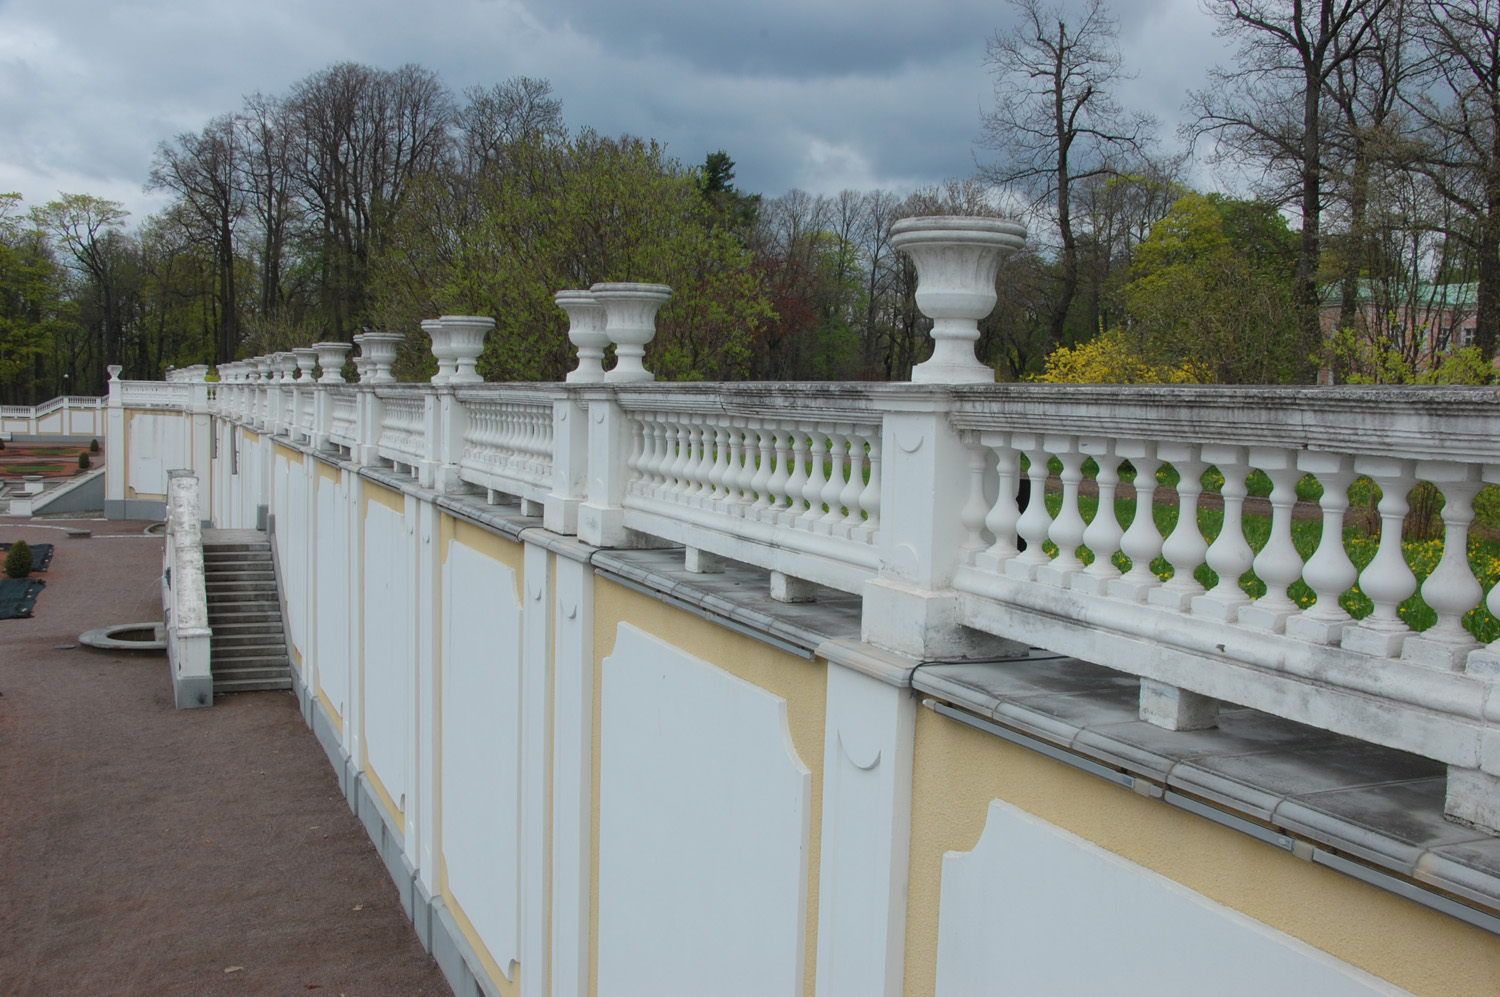
4. Edge lighting - sun is just outside the viewfinder frame. This way of shoots has resulted in upper left corner being overexposed. This could also be corrected by using ND gradual filters. The object itself is mostly in shade.
50mm; f/4.8; 1/640 sec

Summarizing this exercise, it can be concluded that different angles of sunset can be used for different types of shots, depending on what you want to achieve. Side and edge could be probably used for portraits to catch interesting angle and a shade. Shooting against the sun requires some filters, but helps to take really nice sunset pictures.   


Tuesday, June 7, 2011

Exercise 4.2 - Judging Color Temperature 2

The same as with the previous exercise, there will be two shots of my father's face and one sea shell. But in this exercise, I should look at different white balance settings and how they affect the temperature of the colors.

1. At Sun - these three pictures have been taken at sun during the midday:

The first one has been taken with white balance  set for Direct Sunlight.
145mm; ISO 200; F/6.0; 1/800

The second one has been take with white balance set as Auto. 

130mm; ISO 200; f/6.0; 1/800 sec

The third picture has been take with white balance set at Shade.

150mm; ISO 200; f/6.3; 1/800 sec

The color temperature is different on all three pictures. Th interesting thing is that I would expect Shade white balance give cold temperature, while it appears absolutely the other way around. the coldest is Auto, and Direct sunlight is something in the middle. 

2. At Shade - these three pictures have been taken in shade during the midday.

On the first picture white balance was set on Direct sunlight.

170mm; ISO 200; f/6.3; 1/100 sec

The second picture is taken with white balance at Shade setting.

145mm; ISO 200; f/6.0; 1/100 sec

The third one is with white balance at Auto.

185mm; ISO 200 f/6.3; 1/80 sec

White balance set for shade gives the warmest color temperature. Again is the coldest one.

3. These three pictures have been take at sunset.

The first one has been take with Shade white balance 

90mm; ISO 400; f/4.5; 1/100 sec 

 The second one has been take with Direct sunlight white balance

90mm; ISO 400; f/4.5; 1/100 sec

And the third one has been taken at Auto white balance

90mm; ISO 400; f/4.5; 1/100 sec

In this case Shade has given the warmest color temperature. But as opposed to all previous pictures, the coldest one was given by Direct sunlight.

Summarizing this exercise, I can say that  Auto balance would usually give the shot colder temperature of colors, except for sunset case. The balance can be reached by applying the white balance that is relevant for every particular case. 

Exercise 4.3 - Judging Color Temperature 1

Unfortunately I could not use the same object for all three pictures. I failed to make a picture of my father at sunset. So, I have chosen another object that is also not very colorful and will show the same difference in color temperature - a sea shell.

For all three pictures white balance has been set for "direct sunlight"

1. This picture has been taken at the sun in the midday. The tones are moderate. Color temperature is exactly what it should be, not too "warm" or too "cold". The shadows are not making the picture too dark.


145mm; ISO 200; f/6.0; 1/800 sec

2. This picture has been taken in the shadow during the midday. The colors look colder than on the previous picture. And because the face is not in the sun rays, there are no shadows at all. 

170mm; ISO 200; f/6.3; 1/100 sec

 3. At this one, colors look the coldest out of three. I would even say that the background has blue tone, whereas it was not blue at all.

90mm; ISO 400; f/4.5; 1/100 sec

The most natural is the first picture, where at white balance set for direct sunlight, the shot is actually made at direct sunlight. Two others have colder temperature and the tones of colors differ. 


Monday, May 23, 2011

Exercise 4.2 - Higher and Lower Sensitivity

For this exercise I was supposed to experiment with different ISO sensitivity levels.

I wanted to use different kinds of composition for this, from movement to very static ones to see, where the effect from changing the ISO sensitivity level would be more justified.

At first I went to the local football team game to experiment with moving objects. A first I took over 20 shots at ISO 200. I could only pick up two that were sharp enough. Though, I must admit that in both cases the players were not moving too fast.

185mm; f/9.0; 1/320 sec

100mm; f/9.0; 1/250 sec


And the pictures that could be more interesting from compositional perspective, are all not sharp, like the ones below:

130mm; f/9.0; 1/250 sec

170mm; f/9.0; 1/250 sec

I decided to keep aperture at f/9.0, as it gave the best option  for taking close pictures as well as quickly moving back to more general views and maintain reasonable depth of field. 

Then I changed ISO to 400. In this case the faster shutter speed increased the number of sharp images and allowed me take more interesting images. The shutter speed increased from 1/320 sec to 1/500sec.

250mm; f/9.0; 1/500 sec

220mm; f/9; 1/500 sec

However, for some of the shots, like the one below, 1/500 sec was still not fast enough.

220mm; f/9.0; 1/500 sec

The best shots I got at ISO 800. Quite a few images were sharp enough. And I had a better choice of compositions afterwards. I could freeze some movements that were quite fast, but of course at a cost of higher noise level on the picture. 

220mm; f/9.0; 1/1000 sec

230mm; f/9.0; 1/1000 sec

However, considering that there are many moving objects on the pictures and the main goal was to catch interesting moments of the game and movements of the players, I think that in this case using higher ISO sensitivity is justified.

As a second part of the experiment I wanted to try some landscape images. For this I went to the sea to take some shots of sundown. As I was using tripod anyway, I was free in choosing smaller aperture of f/16.0. It might be that I could have used even smaller one...

38mm; f/16; 1/80sec

Then I changed to ISO 400, which resulted in shutter speed of 1/250 and of course increased th edigital noise on the image.

38mm; f/16.0; 1/160 sec

And my last shat was taken at ISO 800, which increased shutter speed to 1/250sec.  

38mm; f/16.0; 1/250 sec 

In this case using higher ISO is not really necessary. I was shooting using tripod and the scene itself is quite static. So, there was no need in capturing fast-moving object. In this case the only difference I got was higher level of noise with higher ISO. 

And the third part of experiment was to take some shots of trees at a windy weather to see at what ISO it would be possible to freeze the movement of the leaves. Also, it was quite late in the evening and I had to use tripod and slower shutter speed anyway. 

With lowest ISO 200 I could not make the image sharp enough, as the shutter speed was 1/10 sec and the movement of leaves was too obvious. Also, though camera was on tripod, it seems that the shot is not sharp enough not only because of the wind, but because I could not press the button smooth and right to use longer shutter speed. 

220mm; f/16.0; 1/10 sec 

Then I changed to ISO 400, which won me another 1/10 sec of shutter speed. 

220mm; f/16.0; 1/20 sec

And my third trial was at ISO 800. The movement was captured the best in this case.

220m; f.16.0; 1/40 sec

In this case I would stick to the ISO 400, which does not create too much digital noise and helps to freeze the movement a bit better.

The major conclusion of the exercise would be that the one should always look, what image will be showing. If it is something static, like landscape, there is no point in sacrificing nice smooth background for the sake of faster shutter speed. But if the movement us exactly what photographer wants to show, then ISO is a good tool to use for capturing the most interesting moments. 

Friday, May 20, 2011

Exercise 4.1 - Measuring Exposure

This exercise consists of two parts:

1. Take pictures with exposure deliberately lighter or darker than average.

2. Take pictures at 5 different exposure levels, arranged around estimated best exposure.

Part 1


It was quite cloudy this day and one of the things that I wanted to try was to take some pictures of dark cloud against green colour of the trees and grass in the park. From the beginning I assumed that the best shot I would get should be a little bit underexposed. I started from the overexposed one, where the sky

Aperture for all three pictures was set at f/10.0, at 58mm and ISO 200. Only shutter speed was changed to reach +/- 07 EV.

With the shot being overexposed, the sky has nearly disappeared from the picture and the shot itself looks flat.
1/80 sec (+ 0.7 EV)

At average 0 EV the sky looks better, but still I find this shot a bit flat and lacking depth of field. 
1/125 sec (0 EV)

As expected from the very beginning, a bit underexposed shot looks the best. The contrast between sky and green colours of the park is seen better and the shadows are more obvious.

1/200 sec (- 0.7 EV)

For the second shot I decided to experiment with a bit different composition, where I would have bigger dark subject in the center of the composition. The tree worked well for this experiment.

Aperture was set at f/14.0, with 23 mm focal distance and ISO 200.

Overexposed for 0.7 stop has the same effect as on previous picture - the clouds are not seen at all. 

1/60 sec ( + 0.7 EV)

 It is interesting that in this case the average exposure seems to be perfect compared to the other two pictures.

1/100 sec (0 EV)

 On this shot, the tree is too dark as well as the trees and bushes on the background.

1/160 sec ( - 0.7 EV)

 The conclusion that I make from this part is that depending on the subject, the one might need to overexpose or underexpose the shot or stick to the average calculated by the camera sensor.

Part 2


1. For the first five shots I have set up camera on 30mm focal distance, IS 200, aperture at f/18.0 matrix exposure measuring. I assumed that the best shot would be the one overexposed a bit, because it would give more saturation and would highlight the contrast of the colours. I expected the one at 1/80 sec to ve the best shit, but the ones at 1/50 an 1/60 sec look actually better than the expected one.
1/30 sec


1/50 sec

1/60 sec


1/80 sec

1/125 sec


2. For the second shot I decided to experiment a bit with metering. And I tried both center-weighted and matrix metering. Though there was no much difference, I decided that matrix one looks slightly better. The lens was set at 23mm, aperture at f/18.0, ISO 200. I expected the one at 1/100 sec be the best shot. However, I liked the darker one taken at 1/200 sec more.

1/60 sec

1/80 sec

1/100 sec

1/200 sec

1/250 sec


3. For the third batch of photos I decided to take some pictures that would not have sky on it, that usually influences the estimated exposure a lot. So, I have put the lens on 130mm, with aperture 6.0 and ISO 200. As the whole picture is nearly the same tone, there was no point in using metering other than matrix one. here I was most surprised, because the darkest shot that was supposed to look far underexposed, looks the best. It shows the best contrast and the best depth of the field in the picture. Also, the saturation of colours is far better than all others. 

1/50 sec

1/60 sec

1/100 sec

1/160 sec

1/200 sec


3. For the next group of shots I decided to use my macro lens 90mm Tamron. The aperture was set at f/3.2, ISO 200. Here I have also experimented by taking two shots at the sane shutter speed of 1/100sec but using different metering - matrix and center-weight. As can be seen, there is a slight difference in this case. The center-weight one looks slightly darker. Though, the one I like the most is the one taken at 1/160sec (matrix). 

1/60 sec

1/100 sec

1/100 sec

1/160 sec

1/200

 4. For the next picture I decided to try combination of sky and water to see, how the sensor will be able to read nearly grey scenery. Focal lens 92mm, aperture f/5.6. Though it was getting darker, ISO 200 still worked fine. The scenery is fairly boring, but the best shot here is the one in the middle (1/500 sec).

1/1000 sec

1/800 sec

1/500 sec

1/400 sec

1/250 sec

5. For the last part of the task I set up the lens on 65mm and the smallest possible aperture f/5.3, as I was  mostly interested in the objects in the middle of the composition. In this case the underexposed shot taken at 1/200s looks better than the one that I would assume (1/125s).   

1/160 sec

1/200 sec

1/125 sec

1/60 sec


1/50 sec

The main conclusion that I would make out of this exercise is that it is quite often that a bit underexposed shot looks better than average estimated by the camera or the one that you have planned to be the best. The contrast and colours saturation are the major areas that were affected by changing the exposure. The overexposed shots look flat and too light, while a bit undrexposed ones have better depth of field and attract attention with saturated colours and better seen shadows.